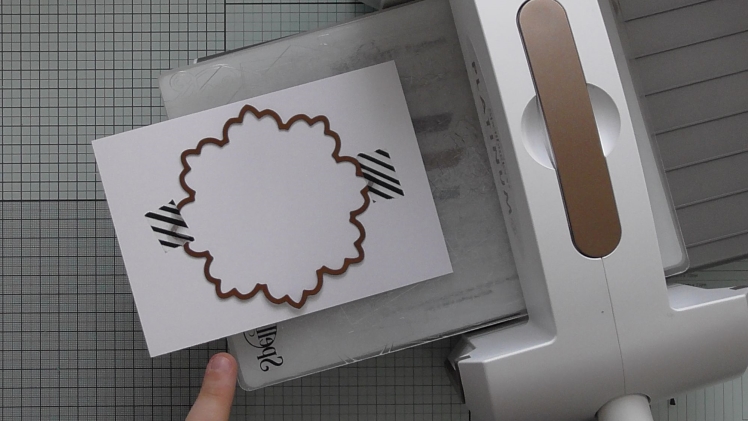
Die-cut is a form of paper crafting that has become very popular. It became trendier these days due to the COVID-19 pandemic, where most people are stuck in their dwellings looking for something to make them busy.
Even with new and more convenient cutting machines, most die cutting enthusiasts prefer the basic cutting techniques.
Those who are not very familiar with this form of art, it is used for scrapbooks, cards, art journals, mixed media artwork, and planners.
Die cuts vary from simple shapes to intricate forms. These are often shaped into animals, insects, flowers, plants, or anything the artists can think of.
However, many beginners often hit a brick wall during their first few days or weeks of doing die cuts. Beginners often commit simple mistakes that ruin their enthusiasm and fun in this art.
With that in mind, this post will provide the much-needed information to guide beginners to a hassle-free die-cutting.
1. Connect and Plug the Machine Properly
For beginners, they should always link the die cutter machine to a laptop computer or a personal computer to get them started. Then, it only needs to get plugged into a wall socket to power the machine on. Then, attach it to either a PC or laptop using a USB cable. Some machines offer more convenient features, such as Bluetooth connectivity, so that beginners can pair it with their laptop or PC.
Once it is hooked up to the PC or laptop and powered on, there will be a guide on the on-screen menu. Most die-cutting machines come with free software that is installed on the computer.
2. Begin with Easy Ready-to-make Projects
Most of the time, many beginners want to start fancy with intricate wall arts and decorations. The problem is they actually do not know how to properly cut material that has intricate patterns. Even if there are tools available to make the work a whole lot easier, it would be best to start with ready-to-make projects. These are way easier to work with and easy to familiarize with.
It would also be best to choose non-complicated ready-to-make die cutter projects.
3. Prepare the Tools Always
Having all the stuff, proper materials, and tools in hand is very important in die-cutting. It is to ensure that the artist or person can properly work with the project without any hassle. Therefore, they should have tweezers, scissors, scrapers, or spatula beside them. It is best to have these things ready as they make the work a lot more comfortable and time saving.
4. Make the Sandwich Based on the Machine’s Instruction
Many beginners often overlook the importance of creating their sandwich of materials without basing it on the manufacturer’s instruction on the machine they use.
Thus, always remember to create the sandwich according to the machine manufacturer’s instructions and do not forget to utilize a low-tack or washi tape. It helps hold every material together in place while being cut. It also helps run the sandwich through the machine for a cleaner and more complete cut.
5. Repeat Running the Sandwich Design Through the Machine Again
There are many instances that the sandwich design does not come out cut well. With this in mind, beginners can always run their designs through the machine anew if they notice any inaccuracies or anything that does not cut all the way through.
Crooked designs or uncut parts are very common in die cutting when the sandwich design is very thick. Also, running the sandwich design repeatedly through the machine gives the beginner a chance to add a material stack.
Conclusion
Die-cutting should be enjoyable and not something that makes a beginner feel like playing chess. However, these beginner tips will surely make their work a lot easier for those who want to start this art as a hobby or make it a source of income by making scrapbooks, labels, or prints.

